
There’s nothing quite like waking up to discover your kitchen has magically transformed into an artisan bakery overnight—and all thanks to this ridiculously simple no-knead bread recipe!
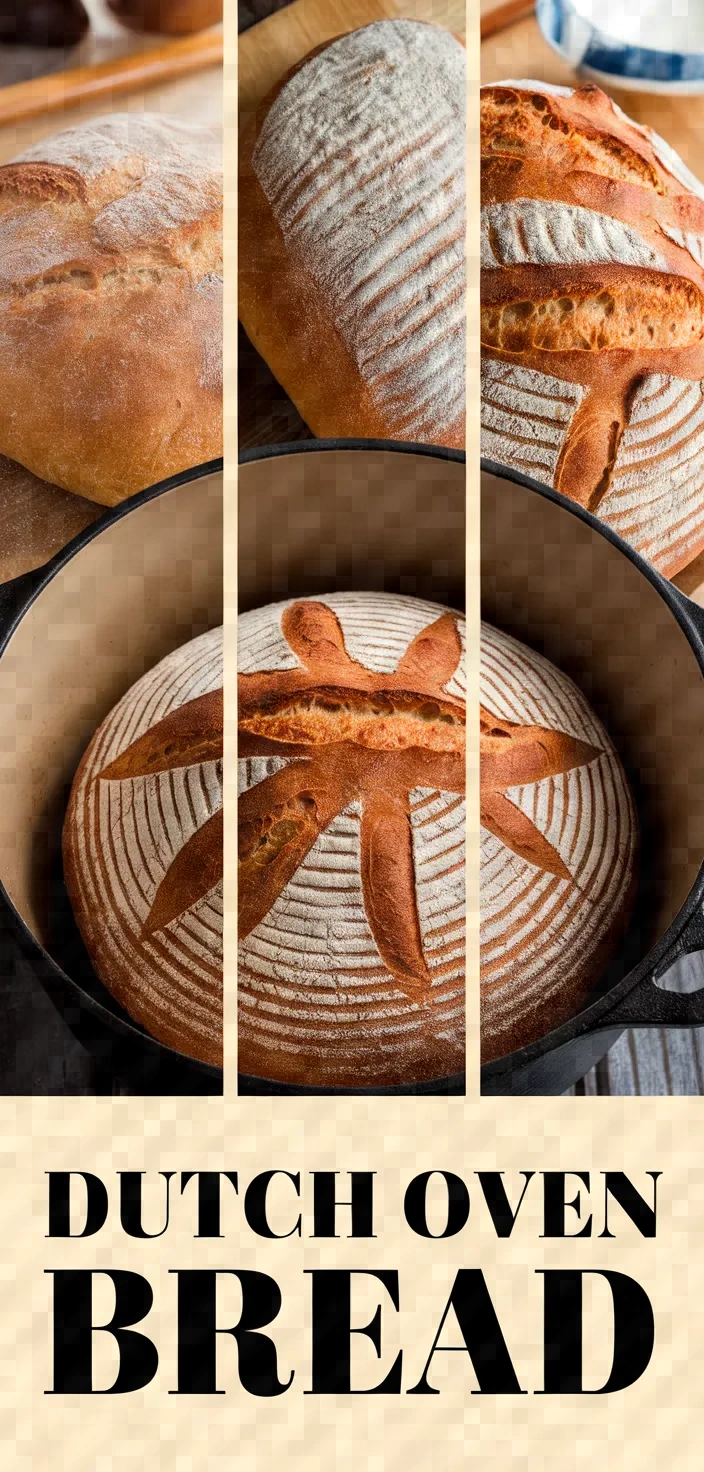
Creating simple, hearty recipes is what I love, and Dutch Oven No Knead Bread is a personal favorite of theirs. Just all-purpose flour, a hint of instant yeast, and salt produce a fantastic crusty loaf.
The warm water activates the yeast, and all that extra flour for dusting gives the bread the perfect texture—all without kneading.
Dutch Oven No Knead Bread Recipe Ingredients
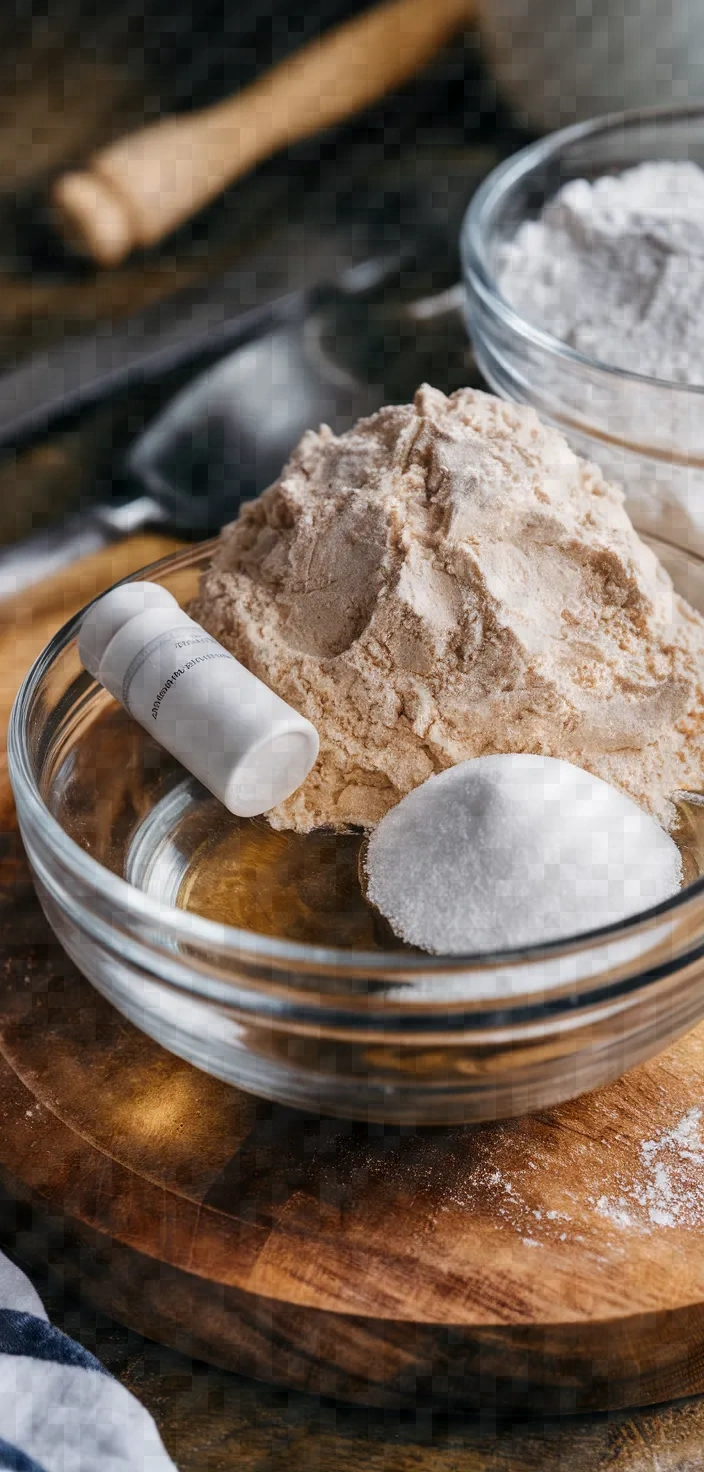
- All-purpose Flour: Primary source of carbohydrates, gives bread its structure.
- Instant Yeast: Makes the bread rise, provides airy texture.
- Salt: Enhances flavor, regulates yeast fermentation.
- Warm Water: Activates yeast, essential for dough formation.
Dutch Oven No Knead Bread Recipe Ingredient Quantities
- 3 cups all-purpose flour
- 1/4 teaspoon instant yeast
- 1 1/2 teaspoons salt
- 1 1/2 cups warm water (about 110°F)
- Additional flour for dusting
How to Make this Dutch Oven No Knead Bread Recipe
1. In a big bowl, mix together the all-purpose flour, instant yeast, and salt. Stir well to combine and ensure that the yeast and salt are evenly dispersed in the flour.
2. Combine the dry ingredients with the warm water, and use a wooden spoon or spatula to stir until you have a somewhat loose, sticky dough. Make sure the flour is all in and part of the mostly uniform lump of dough.
3. Plastic wrap or a clean kitchen towel can be used to cover the bowl. The dough should be allowed to rest at room temperature for 12 to 18 hours until it has doubled in size and a bubbly surface is apparent.
4. When the dough has leavened, heat your oven to 450°F (232°C). Put your covered Dutch oven in the heated oven to warm for a minimum of 30 minutes.
5. Transfer the dough to a surface that has been dusted with flour. Pat the dough with your hands to form a ball. Since the dough is somewhat sticky, make sure your hands are well-floured to make handling the dough easier.
6. Permit the dough 30 minutes of relaxation while the Dutch oven preheats. Make sure to keep the dough covered with a floured cotton towel or good old plastic wrap to ensure it does not dry out.
7. After preheating, the Dutch oven is hot and ready to be filled with food for cooking. With kitchen tongs, I carefully pull the 5-pound Dutch oven from the 450-degree oven and set it atop a heat-proof mat.
8. Sprinkle a small amount of flour on the bottom of the Dutch oven and line it with parchment paper, if you would prefer. In either case, the loaf shouldn’t stick. Gently place the dough into the hot pot.
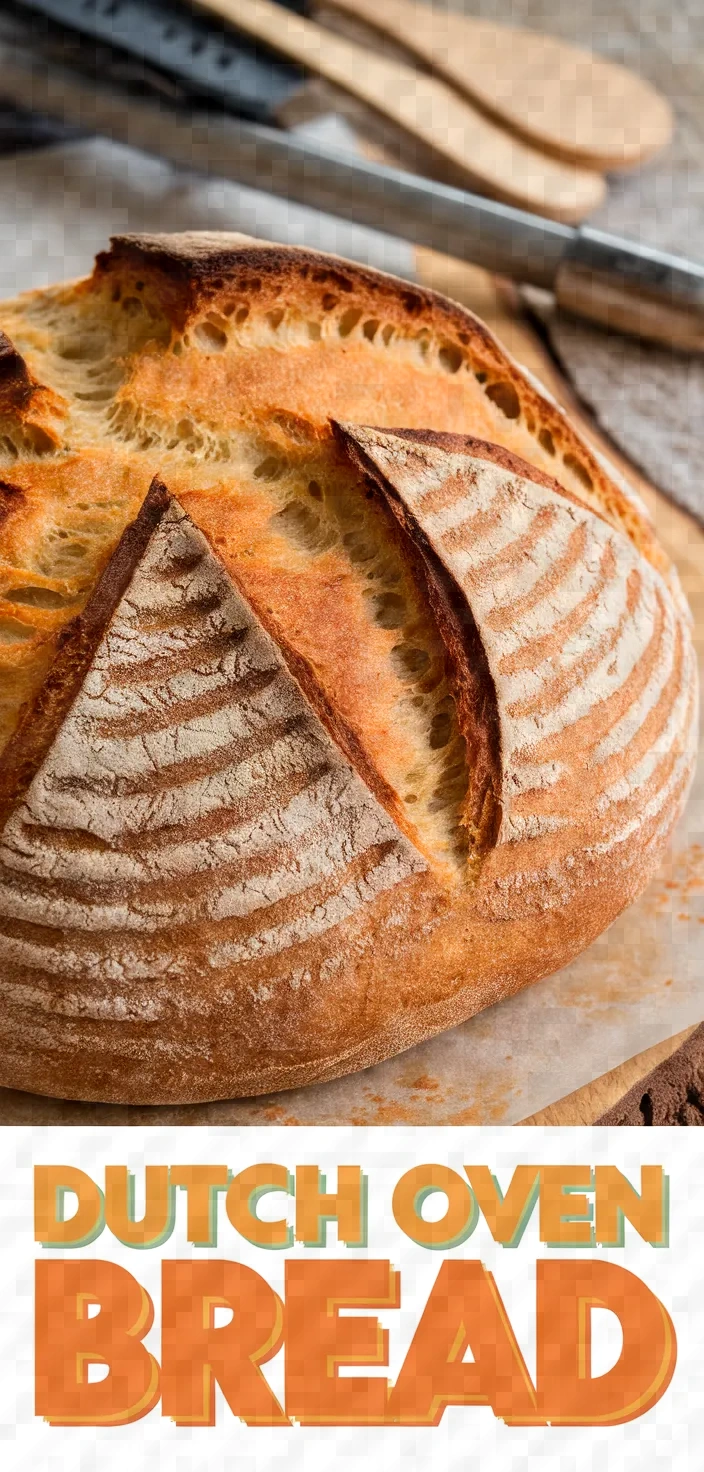
9. Put the lid back on the Dutch oven and return it to the oven. Bake for 30 minutes. Remove the lid and continue baking for another 10 to 15 minutes until the bread has a deep, golden-brown color and a crunchy crust.
10. Gently take the bread out of the Dutch oven, using oven mitts, and let it cool on a wire rack before you slice and serve it. Enjoy your homemade artisan bread!
Dutch Oven No Knead Bread Recipe Equipment Needed
1. Large mixing bowl
2. Wooden spoon or spatula
3. Plastic wrap or clean kitchen towel
4. Measuring cups and spoons
5. Oven
6. Dutch oven with lid (5-pound size)
7. Heat-proof mat
8. Kitchen tongs
9. Parchment paper (optional)
10. Oven mitts
11. Wire cooling rack
FAQ
- Q: Can I use bread flour instead of all-purpose flour?A: Yes, bread flour can be used for a different texture. It will give a very chewier, more robust crumb.
- Q: How long should I let the dough rise?A: Let the dough rise for 12 to 18 hours at room temperature. This gives it plenty of time to develop flavor and structure.
- Q: Do I need to preheat the Dutch oven?A: Indeed, it is essential to preheat the Dutch oven to achieve a good crust. I heat mine to 450°F and keep it that way for about 30 minutes before introducing my dough.
- Q: Can I add extra ingredients like herbs or cheese?Of course! Incorporate the ingredients you want during the first mixing stage to give your twist a robust flavor.
- Q: How should I store the bread once baked?1. Keep the bread at room temperature in an airtight container for up to 3 days. 2. Freeze for longer storage.
- Q: What should I do if I don’t have a Dutch oven?You can use a pot that is safe for the oven and has a lid, or a tightly covered baking dish. Use foil to cover the dish if it does not have a lid.
Dutch Oven No Knead Bread Recipe Substitutions and Variations
Use in place of any flour in nearly any recipe. To make 1 cup:
1 cup all-purpose flour
1/4 cup plus 2 tablespoons (1 ounce) baking powder
1/2 teaspoon salt
Flour, whole wheat (for a loaf that’s denser and has a nuttier taste)
Flour for bread (which yields much more gluten than all-purpose flour and makes for a chewier texture)
Active dry yeast is produced in the same way as instant yeast. However, it is dried much more slowly and to a lower temperature. Active dry yeast has a coarser texture than instant yeast. When using active dry yeast, it is best to rehydrate it before using it in the recipe. This is done by adding the yeast to warm water (approximately 110°F) with a little sugar in it. Stir it to mix well and let it sit for about 5 to 10 minutes. The yeast will foam indicating that it is alive and well and ready to use in your recipe. If it does not foam, just toss it and buy some more fresh yeast.
Once the yeast has been foamed up and ready to go, mix it well into your dough and remember that using active dry yeast often requires a longer rising time as well as a second rise in the dough before it can be shaped and baked.
Yeast, dry and active (but first dissolve in water before use)
Salt is a mineral that is vital for the human body. It influences numerous bodily functions, and scientists believe that humans and animals require salt to survive. Salt is composed mainly of two elements: sodium and chlorine; both are necessary and beneficial to the body.
Sodium:
Sodium is an essential electrolyte that helps in the transmission of nerve impulses and in the contraction and relaxation of muscles. It helps maintain proper blood volume, blood pressure, and body fluid balance.
Chlorine:
Chlorine is a component of stomach acid, which is vital for the digestion of food. It is also used by the body to produce several important substances, including those that inhibit the growth of microorganisms.
Ocean salt (for variety of minerals and taste)
Kosher salt (use a bit more; it is less dense)
Lukewarm water:
A liquid consisting of water and a small amount of beer, which serves to enhance the taste and flavor quality.
Seltzer (for a lighter, airier texture)
Pro Tips
1. Use a Scale for Accurate Measurements For perfect results, measure your flour by weight using a scale rather than by volume. This ensures consistency and accuracy in your dough, as the weight of a cup of flour can vary depending on how it’s packed.
2. Incorporate Flavor Add-ins Before allowing the dough to rise, consider adding finely chopped herbs, grated cheese, or seeds to the dry ingredients for a flavorful twist. Mix-ins like rosemary or cheddar can enhance the bread’s taste.
3. Test the Water Temperature Ensure the warm water is around 110°F (43°C) using an instant-read thermometer. This helps activate the yeast properly without killing it, leading to the best rise.
4. Create Steam for a Crispier Crust To achieve an extra-crispy crust, add a small oven-safe dish of water on the rack below the Dutch oven during baking. The steam will help develop a beautifully crusty exterior.
5. Let It Cool Completely Allow the bread to cool thoroughly on a wire rack before slicing. This lets the interior set and keeps the bread from becoming gummy, ensuring a better texture and crumb when you cut into it.
Dutch Oven No Knead Bread Recipe
My favorite Dutch Oven No Knead Bread Recipe
Equipment Needed:
1. Large mixing bowl
2. Wooden spoon or spatula
3. Plastic wrap or clean kitchen towel
4. Measuring cups and spoons
5. Oven
6. Dutch oven with lid (5-pound size)
7. Heat-proof mat
8. Kitchen tongs
9. Parchment paper (optional)
10. Oven mitts
11. Wire cooling rack
Ingredients:
- 3 cups all-purpose flour
- 1/4 teaspoon instant yeast
- 1 1/2 teaspoons salt
- 1 1/2 cups warm water (about 110°F)
- Additional flour for dusting
Instructions:
1. In a big bowl, mix together the all-purpose flour, instant yeast, and salt. Stir well to combine and ensure that the yeast and salt are evenly dispersed in the flour.
2. Combine the dry ingredients with the warm water, and use a wooden spoon or spatula to stir until you have a somewhat loose, sticky dough. Make sure the flour is all in and part of the mostly uniform lump of dough.
3. Plastic wrap or a clean kitchen towel can be used to cover the bowl. The dough should be allowed to rest at room temperature for 12 to 18 hours until it has doubled in size and a bubbly surface is apparent.
4. When the dough has leavened, heat your oven to 450°F (232°C). Put your covered Dutch oven in the heated oven to warm for a minimum of 30 minutes.
5. Transfer the dough to a surface that has been dusted with flour. Pat the dough with your hands to form a ball. Since the dough is somewhat sticky, make sure your hands are well-floured to make handling the dough easier.
6. Permit the dough 30 minutes of relaxation while the Dutch oven preheats. Make sure to keep the dough covered with a floured cotton towel or good old plastic wrap to ensure it does not dry out.
7. After preheating, the Dutch oven is hot and ready to be filled with food for cooking. With kitchen tongs, I carefully pull the 5-pound Dutch oven from the 450-degree oven and set it atop a heat-proof mat.
8. Sprinkle a small amount of flour on the bottom of the Dutch oven and line it with parchment paper, if you would prefer. In either case, the loaf shouldn’t stick. Gently place the dough into the hot pot.
9. Put the lid back on the Dutch oven and return it to the oven. Bake for 30 minutes. Remove the lid and continue baking for another 10 to 15 minutes until the bread has a deep, golden-brown color and a crunchy crust.
10. Gently take the bread out of the Dutch oven, using oven mitts, and let it cool on a wire rack before you slice and serve it. Enjoy your homemade artisan bread!


