
I finally nailed a Gluten Free Pita Bread that puffs up, stays soft and lightly chewy, and won’t crumble the minute you dunk it.
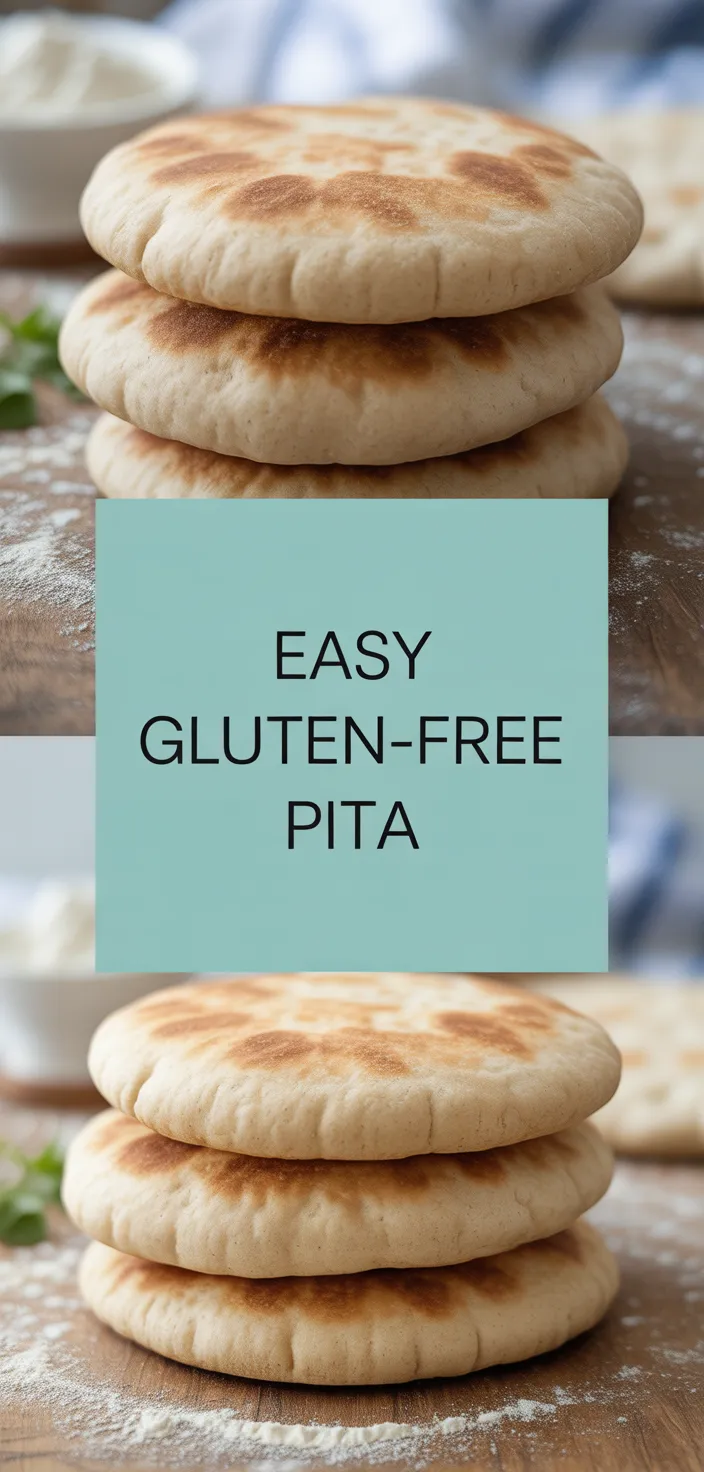
I’m obsessed with Gluten Free Pita Bread because it actually bites back with airy pockets and a soft chew that feels legit. I love how a simple Pita Bread can cradle hummus, shakshuka, or slap onto a sandwich without falling apart.
But what really sold me was the texture, slightly blistered surface, pillowy interior, and enough chew to make each bite worth it. I swear the xanthan gum and a slick of olive oil are quiet heroes here.
It’s not fussy, not precious, and it plays nice with everything. Give me this over dense breads any day.
No contest, seriously.
Ingredients
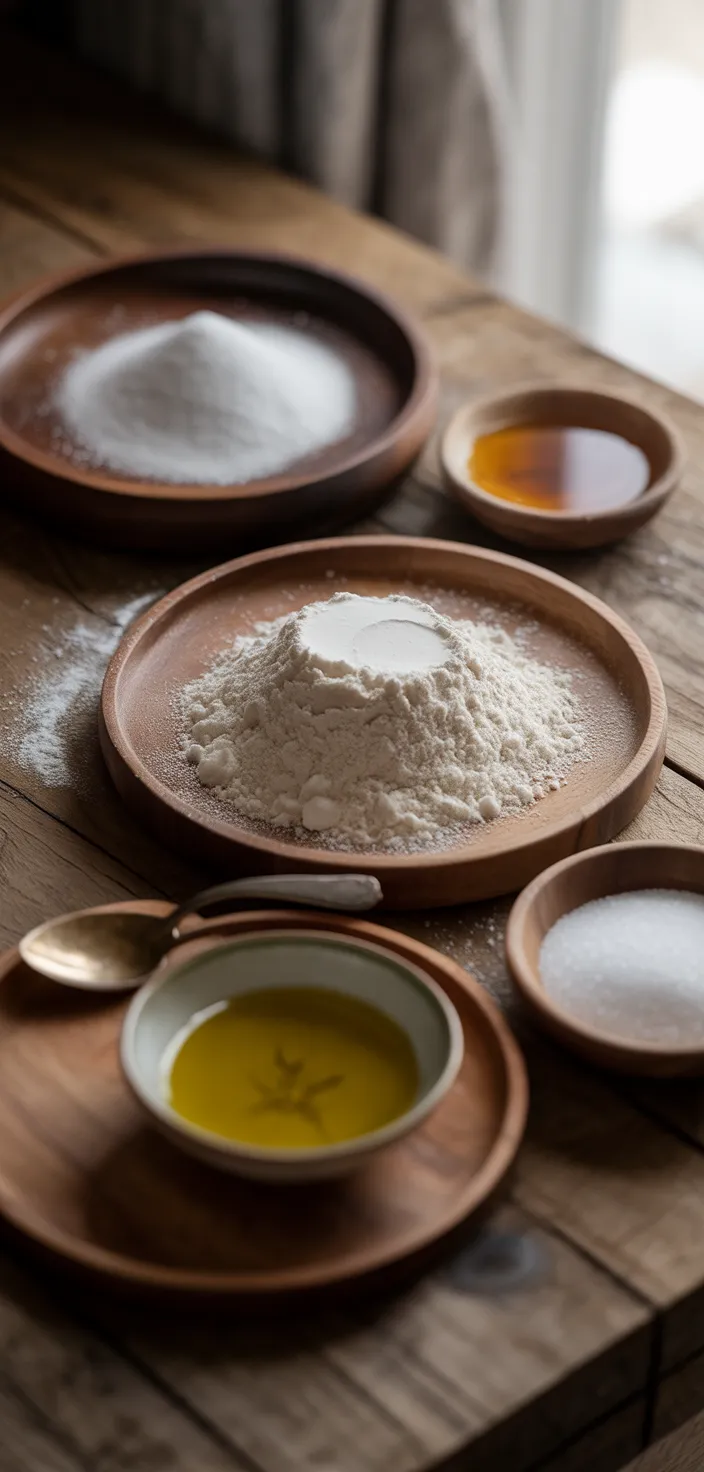
- Gluten free all purpose flour blend: The base, gives structure so the pita actually holds together.
- Xanthan gum: Basically sticky magic that replaces gluten and keeps things from crumbling.
- Active dry yeast: Makes pockets and lift, so your pita puffs and feels light.
- Sugar or honey: Feed for the yeast and a hint of sweetness, nothing sugary.
- Warm water: Activates yeast and hydrates the dough; not lava, just cozy warm.
- Olive oil: Adds richness and keeps the dough soft, plus it browns nicely.
- Fine salt: Brings out flavor and balances sweetness, don’t skip it.
- Apple cider vinegar or lemon juice: Basically tang that helps texture and rise a bit.
- Extra gluten free flour for dusting: Stops sticking while rolling without drying the dough.
Ingredient Quantities
- 2 cups gluten free all purpose flour blend (preferably one with xanthan gum included)
- 1 teaspoon xanthan gum (omit if your flour blend already has it)
- 2 1/4 teaspoons active dry yeast (one standard packet)
- 1 tablespoon sugar or honey
- 1 cup warm water (about 110°F, a bit warmer or cooler is usually fine)
- 2 tablespoons olive oil
- 1 teaspoon fine salt
- 1 teaspoon apple cider vinegar or lemon juice (helps with texture)
- Extra gluten free flour for dusting and rolling as needed
How to Make this
1. Proof the yeast: stir 1 tablespoon sugar or honey into 1 cup warm water (about 110°F), sprinkle 2 1/4 teaspoons active dry yeast on top, wait 5 to 10 minutes until foamy; if it doesn’t foam, your yeast might be dead, start over.
2. In a large bowl whisk together 2 cups gluten free all purpose flour blend and 1 teaspoon xanthan gum if your blend doesn’t already have it, plus 1 teaspoon fine salt.
3. Make a well in the dry mix, pour in the foamy yeast mixture, add 2 tablespoons olive oil and 1 teaspoon apple cider vinegar or lemon juice; stir with a wooden spoon until a shaggy dough forms.
4. Turn dough onto a lightly floured surface with extra gluten free flour and knead gently for about 1 minute to bring it together; it will be softer and stickier than regular dough, that’s normal.
5. Shape dough into a smooth ball, place in a lightly oiled bowl, cover with plastic wrap or a damp towel, and let rise in a warm spot for 45 to 60 minutes until slightly puffed; it won’t double like wheat dough usually does.
6. Preheat a heavy skillet or cast iron pan over medium high heat, and preheat your oven to 475°F if you want to finish pita in the oven or just use the skillet if you prefer stovetop pitas.
7. Divide dough into 6 to 8 equal pieces, roll each piece into a ball, then on a well floured surface roll each ball into a 1/8 to 1/4 inch thick circle using extra flour as needed to prevent sticking; gluten free dough benefits from a little extra flour when rolling.
8. Cook pitas: for stovetop, place each circle into the hot dry skillet and cook 1 to 2 minutes until bubbly and golden, flip and cook another 1 minute; for oven, place rounds on a hot baking stone or sheet and bake 4 to 6 minutes until puffed and lightly browned.
9. Keep cooked pitas warm wrapped in a clean towel; they soften as they cool and steam, so don’t stack them in cold air or they can get chewy and firm up.
10. Serve warm with hummus, shawarma, salads or use for sandwiches; to refresh later, sprinkle with a little water and heat briefly in a hot skillet or oven for best texture.
Equipment Needed
1. Large mixing bowl for combining flour and liquids
2. Measuring cups and spoons (for flour, water, yeast, oil, salt)
3. Small bowl or cup to proof the yeast and warm the water
4. Wooden spoon for stirring the shaggy dough
5. Plastic wrap or a clean damp towel to cover the dough while it rises
6. Heavy skillet or cast iron pan for stovetop cooking (or a baking stone/sheet if you want to finish in the oven)
7. Rolling pin and extra gluten free flour for dusting and rolling the rounds
8. Clean kitchen towel or foil to keep cooked pitas warm and soft
FAQ
Easy Homemade Gluten Free Pita Bread Recipe Substitutions and Variations
- Gluten free all purpose flour blend: you can use a homemade mix of 2 parts white rice flour, 1 part sweet rice (mochiko) flour and 1 part potato starch if you don’t have a commercial 1-to-1 blend. It won’t be exact, but it works in a pinch and gives good chew.
- Xanthan gum: swap with equal weight psyllium husk powder (start with about 1 teaspoon for this recipe) for better stretch and less gummy aftertaste. If your blend already has xanthan, skip this.
- Active dry yeast: instant yeast can be used in the same amount without proofing first, or if you don’t have any yeast at all, use 1 to 1 1/4 teaspoons baking powder and expect a flatter, more naan like result.
- Olive oil: melted butter or a neutral oil like avocado or vegetable oil work fine and change the flavor a little. Butter gives a richer, slightly sweeter pita.
Pro Tips
1) Check the yeast like your life depends on it. If the yeast doesnt foam in 10 minutes toss it and start over. Water that is just too hot will kill it, too cold and it wont wake up. Aim for warm, not hot.
2) Use a light hand with flour when rolling. Gluten free dough likes a little extra flour but too much makes the pitas dry and crack. Keep a spray bottle of water nearby to mist the dough if it gets too stiff while you work.
3) Get the pan screaming hot before you put a round in. A really hot skillet gives fast steam and puffing, then finish in a hot oven if you want deeper color. If the pan is only warm you won’t get good pockets and the pitas will be dense.
4) Store and refresh smart. Keep cooked pitas wrapped in a towel or in a zip bag while still warm so they stay soft. To revive later sprinkle with a little water and heat briefly in a hot skillet or oven — it brings back the chew better than microwaving.
Easy Homemade Gluten Free Pita Bread Recipe
I finally nailed a Gluten Free Pita Bread that puffs up, stays soft and lightly chewy, and won’t crumble the minute you dunk it.
8
servings
156
kcal
Equipment: 1. Large mixing bowl for combining flour and liquids
2. Measuring cups and spoons (for flour, water, yeast, oil, salt)
3. Small bowl or cup to proof the yeast and warm the water
4. Wooden spoon for stirring the shaggy dough
5. Plastic wrap or a clean damp towel to cover the dough while it rises
6. Heavy skillet or cast iron pan for stovetop cooking (or a baking stone/sheet if you want to finish in the oven)
7. Rolling pin and extra gluten free flour for dusting and rolling the rounds
8. Clean kitchen towel or foil to keep cooked pitas warm and soft
Ingredients
-
2 cups gluten free all purpose flour blend (preferably one with xanthan gum included)
-
1 teaspoon xanthan gum (omit if your flour blend already has it)
-
2 1/4 teaspoons active dry yeast (one standard packet)
-
1 tablespoon sugar or honey
-
1 cup warm water (about 110°F, a bit warmer or cooler is usually fine)
-
2 tablespoons olive oil
-
1 teaspoon fine salt
-
1 teaspoon apple cider vinegar or lemon juice (helps with texture)
-
Extra gluten free flour for dusting and rolling as needed
Directions
- Proof the yeast: stir 1 tablespoon sugar or honey into 1 cup warm water (about 110°F), sprinkle 2 1/4 teaspoons active dry yeast on top, wait 5 to 10 minutes until foamy; if it doesn't foam, your yeast might be dead, start over.
- In a large bowl whisk together 2 cups gluten free all purpose flour blend and 1 teaspoon xanthan gum if your blend doesn't already have it, plus 1 teaspoon fine salt.
- Make a well in the dry mix, pour in the foamy yeast mixture, add 2 tablespoons olive oil and 1 teaspoon apple cider vinegar or lemon juice; stir with a wooden spoon until a shaggy dough forms.
- Turn dough onto a lightly floured surface with extra gluten free flour and knead gently for about 1 minute to bring it together; it will be softer and stickier than regular dough, that's normal.
- Shape dough into a smooth ball, place in a lightly oiled bowl, cover with plastic wrap or a damp towel, and let rise in a warm spot for 45 to 60 minutes until slightly puffed; it won't double like wheat dough usually does.
- Preheat a heavy skillet or cast iron pan over medium high heat, and preheat your oven to 475°F if you want to finish pita in the oven or just use the skillet if you prefer stovetop pitas.
- Divide dough into 6 to 8 equal pieces, roll each piece into a ball, then on a well floured surface roll each ball into a 1/8 to 1/4 inch thick circle using extra flour as needed to prevent sticking; gluten free dough benefits from a little extra flour when rolling.
- Cook pitas: for stovetop, place each circle into the hot dry skillet and cook 1 to 2 minutes until bubbly and golden, flip and cook another 1 minute; for oven, place rounds on a hot baking stone or sheet and bake 4 to 6 minutes until puffed and lightly browned.
- Keep cooked pitas warm wrapped in a clean towel; they soften as they cool and steam, so don't stack them in cold air or they can get chewy and firm up.
- Serve warm with hummus, shawarma, salads or use for sandwiches; to refresh later, sprinkle with a little water and heat briefly in a hot skillet or oven for best texture.
Notes
- Below you’ll find my best estimate of this recipe’s nutrition facts. Treat the numbers as a guide rather than a rule—great food should nourish both body and spirit. Figures are approximate, and the website owner assumes no liability for any inaccuracies in this recipe.
Nutrition Facts
- Serving Size: 70g
- Total number of serves: 8
- Calories: 156kcal
- Fat: 3.9g
- Saturated Fat: 0.5g
- Trans Fat: 0g
- Polyunsaturated: 0.37g
- Monounsaturated: 2.46g
- Cholesterol: 0mg
- Sodium: 290mg
- Potassium: 47mg
- Carbohydrates: 26g
- Fiber: 1g
- Sugar: 1.5g
- Protein: 3.6g
- Vitamin A: 0IU
- Vitamin C: 0mg
- Calcium: 6mg
- Iron: 0.39mg


