
I just spent two weeks in Virginia and came home to Melted Snowman Cookies that collapse into ridiculous, photogenic puddles of frosting you will absolutely want on your feed.
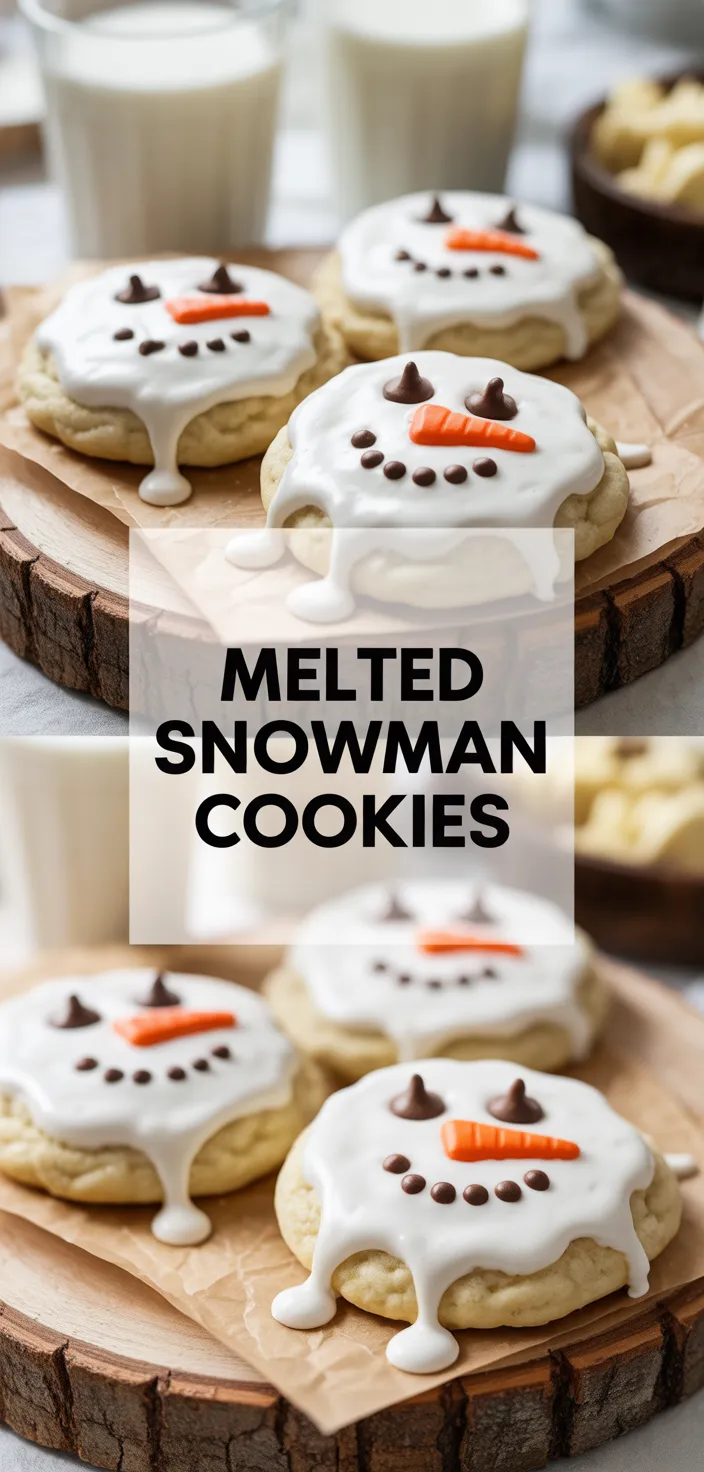
I’m obsessed with Melted Snowman Cookies because they look like a total disaster and somehow taste like winter candy. I love smashing mini marshmallows into gooey eyes and buttons, then adding tiny chocolate chips so the face reads like a drunk cartoon.
Jul Kaka vibe, silly, stupidly sweet. I’m not here for perfect cookie decor, I want melty marshmallow, grain of 1 cup granulated sugar sweetness, the snap of a 1 large egg in the dough, and messy chocolate hats.
But mostly I want that ridiculous, sticky bite that makes me laugh and reach for another right now honestly yum.
Ingredients
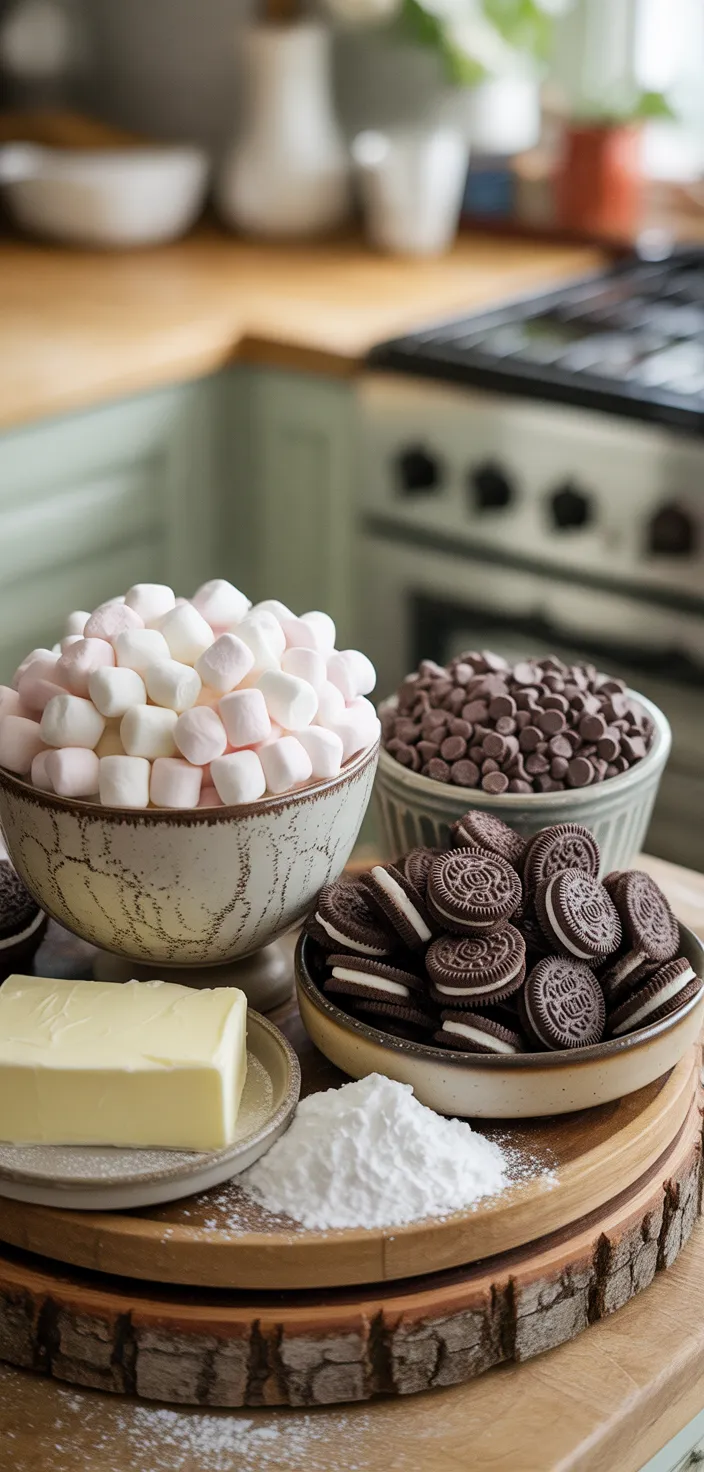
- Butter: adds rich chew and keeps cookies tender, it’s the cozy base.
- Sugar: gives sweet crisp edges and slight crunch, basically happy bites.
- Egg: binds everything together so cookies hold their shape, plus some lift.
- Vanilla: adds warm background flavor, it’s subtle but familiar.
- Flour: provides structure and chew, you need it or cookies flop.
- Baking powder: helps cookies puff a bit, it’s lightening power.
- Baking soda: encourages browning and slight spread, basically better color.
- Salt: balances sweetness and boosts flavors, don’t skip it.
- Powdered sugar: gives a snowy look, plus a soft outer dusting.
- Mini marshmallows: gooey melting centers, they’re squishy and fun.
- Mini chocolate chips: make eyes and buttons, little bursts of chocolate.
- Chopped chocolates/Oreos: form tiny hats, adds crunch and contrast.
- Orange candies/gel: perfect carrot noses, bright pop of color.
- Black gel/tiny chips: for detailing faces, it’s the finishing touch.
- Nonstick spray or flour: prevents sticking, you’ll thank me later.
Ingredient Quantities
- 1 cup (2 sticks) unsalted butter, softened
- 1 cup granulated sugar
- 1 large egg
- 1 teaspoon vanilla extract
- 2 1/2 cups all purpose flour
- 1 teaspoon baking powder
- 1/2 teaspoon baking soda
- 1/4 teaspoon fine salt
- 1 cup powdered sugar, for rolling (optional but nice)
- About 3 dozen mini marshmallows (3 per cookie)
- 1 cup mini chocolate chips or small chocolate candies (for eyes and buttons)
- 24 small chocolate candies or mini Oreos, chopped for hats (or extra chocolate melts)
- 24 small orange candy pieces or orange decorating gel for carrot noses
- Black decorating gel or extra tiny chocolate chips for detailing (if you want)
- Nonstick cooking spray or extra flour for the baking sheet
How to Make this
1. Preheat oven to 350F and grease or lightly flour a baking sheet, or line it with parchment if you got some.
2. In a large bowl cream 1 cup softened butter with 1 cup granulated sugar until light and fluffy, about 2 to 3 minutes with a mixer or a lot of arm work if you’re doing it by hand.
3. Beat in 1 large egg and 1 teaspoon vanilla extract until combined and a little glossy.
4. Whisk together 2 1/2 cups all purpose flour, 1 teaspoon baking powder, 1/2 teaspoon baking soda and 1/4 teaspoon fine salt in another bowl, then slowly mix the dry into the wet until you have a soft dough.
5. If you want neater cookies roll dough into 1 to 1 1/4 inch balls, and optionally roll each ball in 1 cup powdered sugar before placing on the sheet; the powdered sugar gives a nice snowy look. Space balls about 2 inches apart.
6. Press three mini marshmallows into the top of each dough ball in a vertical line before baking so they sit on the cookie and will melt/flatten into the “melted snowman” shape.
7. Bake cookies 9 to 11 minutes or until edges are set and tops are slightly golden; marshmallows should puff and start to melt and flatten but not burn. Let cookies cool on the sheet for 3 to 5 minutes so marshmallows set more, then transfer to a wire rack to cool completely.
8. While cookies cool, get your decorations ready: use mini chocolate chips or small chocolate candies for eyes and buttons, chop 24 small chocolate candies or mini Oreos for little hats, and have 24 small orange candies or orange decorating gel for carrot noses. Black decorating gel or extra tiny chips are good for details.
9. Assemble each snowman by pressing two tiny chocolate chips into the top marshmallow for eyes, one orange candy or a dab of orange gel for the nose, and a line of 2 or 3 chocolate chips down the middle marshmallow for buttons. Top the top marshmallow with a chopped chocolate piece or mini Oreo to make a floppy hat. Use black decorating gel to fix any little details or draw a smile.
10. Store cookies in an airtight container at room temp for up to 3 days, or layer with parchment to keep marshmallow details from sticking. If marshmallow gets stale, a quick 5 to 7 second zap in the microwave perks it up.
Equipment Needed
1. Oven (preheat to 350F)
2. Baking sheet (or two) plus parchment paper or nonstick spray/flour
3. Large mixing bowl and a second bowl for dry ingredients
4. Electric mixer or sturdy whisk and some good arm strength
5. Measuring cups and spoons
6. Cookie scoop or tablespoon for portioning dough
7. Spatula and small offset or flat spatula to transfer cookies
8. Wire cooling rack and a small knife or chopping tool for the chocolate hats
FAQ
Melted Snowman Cookies Recipe Substitutions and Variations
- Butter: use equal parts margarine or softened coconut oil if you want dairy free, or 1/2 cup butter + 1/2 cup applesauce to cut fat (texture changes a bit).
- Granulated sugar: swap with light brown sugar for a chewier, slightly caramel flavor, or coconut sugar 1:1 for a less refined option.
- Egg: use a flax egg (1 tbsp ground flax + 3 tbsp water, let sit 5 min) or 1/4 cup unsweetened applesauce per egg for an eggless cookie.
- All purpose flour: try a gluten free 1-to-1 baking mix cup for cup, or whole wheat pastry flour for a nuttier, slightly denser cookie.
Pro Tips
1) Chill the dough 15 to 20 minutes if it feels too soft. Cold dough spreads less, so your marshmallows stay on top instead of sinking into the cookies. If you forget, just pop the sheet in the fridge for a few minutes before baking.
2) Dust the dough balls in powdered sugar right before baking for a snowy look, but press the marshmallows in after rolling. Powdered sugar can melt into the marshmallow if you handle them too long, making a sticky mess.
3) Put a small extra marshmallow or two on the pan edges as sacrificial test cookies when you try a new oven or time. That way you can check marshmallow puff and browning and adjust time without ruining the whole batch.
4) For neater faces and hats, let the cookies cool completely before decorating, and use a toothpick to place tiny candies or gel dots. If a marshmallow gets stale or gummy later, a 5 to 7 second microwave zap fixes it, but don’t overdo it or it will blow up.
Melted Snowman Cookies Recipe
I just spent two weeks in Virginia and came home to Melted Snowman Cookies that collapse into ridiculous, photogenic puddles of frosting you will absolutely want on your feed.
36
servings
148
kcal
Equipment: 1. Oven (preheat to 350F)
2. Baking sheet (or two) plus parchment paper or nonstick spray/flour
3. Large mixing bowl and a second bowl for dry ingredients
4. Electric mixer or sturdy whisk and some good arm strength
5. Measuring cups and spoons
6. Cookie scoop or tablespoon for portioning dough
7. Spatula and small offset or flat spatula to transfer cookies
8. Wire cooling rack and a small knife or chopping tool for the chocolate hats
Ingredients
-
1 cup (2 sticks) unsalted butter, softened
-
1 cup granulated sugar
-
1 large egg
-
1 teaspoon vanilla extract
-
2 1/2 cups all purpose flour
-
1 teaspoon baking powder
-
1/2 teaspoon baking soda
-
1/4 teaspoon fine salt
-
1 cup powdered sugar, for rolling (optional but nice)
-
About 3 dozen mini marshmallows (3 per cookie)
-
1 cup mini chocolate chips or small chocolate candies (for eyes and buttons)
-
24 small chocolate candies or mini Oreos, chopped for hats (or extra chocolate melts)
-
24 small orange candy pieces or orange decorating gel for carrot noses
-
Black decorating gel or extra tiny chocolate chips for detailing (if you want)
-
Nonstick cooking spray or extra flour for the baking sheet
Directions
- Preheat oven to 350F and grease or lightly flour a baking sheet, or line it with parchment if you got some.
- In a large bowl cream 1 cup softened butter with 1 cup granulated sugar until light and fluffy, about 2 to 3 minutes with a mixer or a lot of arm work if you're doing it by hand.
- Beat in 1 large egg and 1 teaspoon vanilla extract until combined and a little glossy.
- Whisk together 2 1/2 cups all purpose flour, 1 teaspoon baking powder, 1/2 teaspoon baking soda and 1/4 teaspoon fine salt in another bowl, then slowly mix the dry into the wet until you have a soft dough.
- If you want neater cookies roll dough into 1 to 1 1/4 inch balls, and optionally roll each ball in 1 cup powdered sugar before placing on the sheet; the powdered sugar gives a nice snowy look. Space balls about 2 inches apart.
- Press three mini marshmallows into the top of each dough ball in a vertical line before baking so they sit on the cookie and will melt/flatten into the "melted snowman" shape.
- Bake cookies 9 to 11 minutes or until edges are set and tops are slightly golden; marshmallows should puff and start to melt and flatten but not burn. Let cookies cool on the sheet for 3 to 5 minutes so marshmallows set more, then transfer to a wire rack to cool completely.
- While cookies cool, get your decorations ready: use mini chocolate chips or small chocolate candies for eyes and buttons, chop 24 small chocolate candies or mini Oreos for little hats, and have 24 small orange candies or orange decorating gel for carrot noses. Black decorating gel or extra tiny chips are good for details.
- Assemble each snowman by pressing two tiny chocolate chips into the top marshmallow for eyes, one orange candy or a dab of orange gel for the nose, and a line of 2 or 3 chocolate chips down the middle marshmallow for buttons. Top the top marshmallow with a chopped chocolate piece or mini Oreo to make a floppy hat. Use black decorating gel to fix any little details or draw a smile.
- Store cookies in an airtight container at room temp for up to 3 days, or layer with parchment to keep marshmallow details from sticking. If marshmallow gets stale, a quick 5 to 7 second zap in the microwave perks it up.
Notes
- Below you’ll find my best estimate of this recipe’s nutrition facts. Treat the numbers as a guide rather than a rule—great food should nourish both body and spirit. Figures are approximate, and the website owner assumes no liability for any inaccuracies in this recipe.
Nutrition Facts
- Serving Size: 33g
- Total number of serves: 36
- Calories: 148kcal
- Fat: 7.1g
- Saturated Fat: 3.8g
- Trans Fat: 0.2g
- Polyunsaturated: 0.6g
- Monounsaturated: 2g
- Cholesterol: 19mg
- Sodium: 53mg
- Potassium: 30mg
- Carbohydrates: 20.2g
- Fiber: 0.6g
- Sugar: 12.8g
- Protein: 1.4g
- Vitamin A: 83IU
- Vitamin C: 0mg
- Calcium: 14mg
- Iron: 0.28mg


