
I recently whipped up some Snowman Oreo Cookies that brought a playful twist to my kitchen. I used 24 Oreos dipped in smooth white chocolate candy melts and added delightful touches like mini M&M eyes, red decorating gel noses, and optional sprinkles. The charming treat is an absolute holiday must-try.
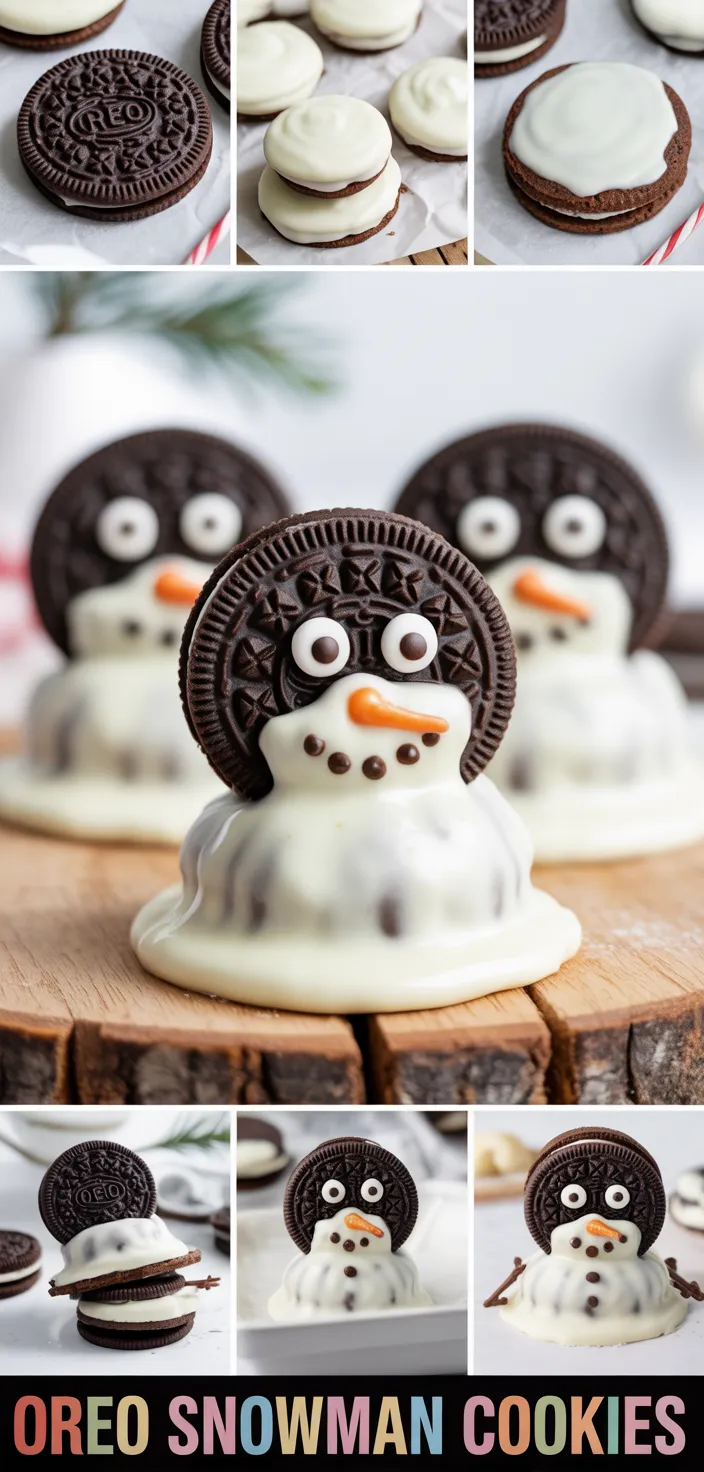
I’m excited to share my latest recipe creation that’s sure to bring a spark of fun to any get-together. I recently whipped up these Oreo Snowman Cookies and they quickly became a favorite of mine.
I used 24 Oreo cookies as the base, then stuck on 12 lollipop sticks to build the fun structure. Melting 12 oz of white chocolate candy melts gave me the perfect “glue” for assembling these mini snowmen.
I even decorated them with 1/2 cup mini M&M’s for their eyes and buttons and added 2 teaspoons of red decorating gel to create cute little noses. I sometimes top them off with sprinkles or even a sprinkle of crushed Oreos to give that extra snowy touch.
It was a super easy project that turned out delicious, making it a perfect choice for Christmas parties, rainy day treats, or whenever you need a bit of edible art to brighten your day. Enjoy!
Why I Like this Recipe
I really love this recipe because it’s super fun and easy to make. I like how you can literally stick two Oreos together to create a snowman pop, and then dunk it in melted white chocolate. I enjoy that every pop is a little canvas for my creativity—adding mini M&M’s for eyes and buttons, a red nose from the gel, and even extra sprinkles or crushed Oreos if I feel extra festive. It feels rewarding to turn a regular cookie into a cute, holiday treat that I can share with my friends and family, and it always reminds me of those fun winter vibes even when it’s just a rainy day.
Ingredients
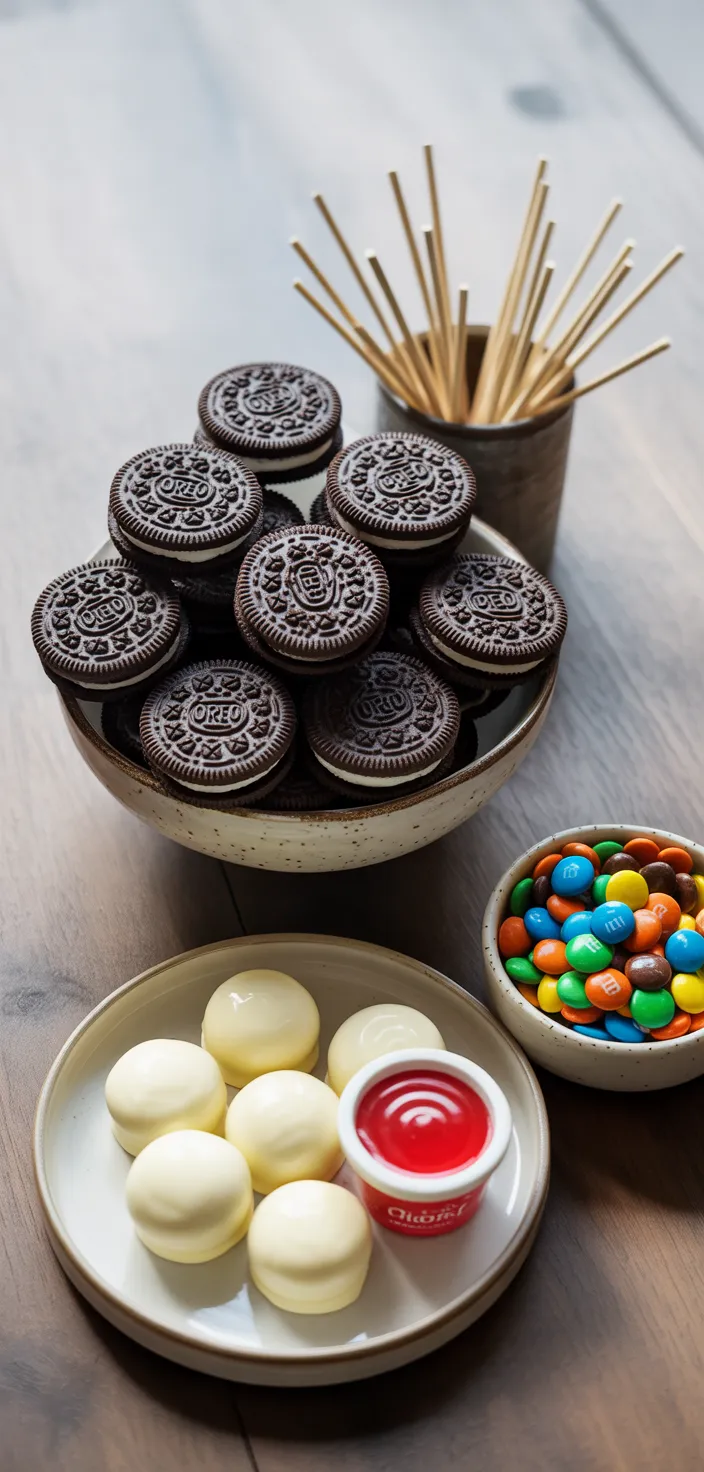
- Oreo cookies deliver crunch and sweet flavor, though they’re mostly sugars and carbs.
- Lollipop sticks are sturdy handles, not nutritious but keep the snowman fun.
- White chocolate candy melts add creamy sweetness, balancing the cookies bitter chocolate taste.
- Mini M&M’s provide colorful accents, adding a little extra sugar and texture.
- Red decorating gel gives a punch of fruity tart flavor for the cute nose.
- Optional sprinkles or crushed Oreos add a snowy, extra sweet crunchy finish.
- Each ingredient adds a playful note, making the treat delightfully festive and unique.
- Every ingredient brings contrast to texture, flavor, and a whimsical snacking experience.
Ingredient Quantities
- 24 Oreo cookies
- 12 lollipop sticks
- 12 oz white chocolate candy melts
- 1/2 cup mini M&M’s for eyes and buttons
- 2 teaspoons red decorating gel for noses
- Optional: Sprinkles or crushed Oreos for a snowy finish
How to Make this
1. Grab 12 lollipop sticks and stick two Oreo cookies together on each one by inserting the stick halfway into one cookie and then pressing a second cookie onto the exposed end to form a snowman body.
2. Place the assembled Oreo pops on a tray lined with parchment paper.
3. Melt the 12 oz white chocolate candy melts in a microwave-safe bowl in 30-second bursts, stirring in between until it’s smooth.
4. Dip each pop about two-thirds the length into the melted white chocolate, letting the excess drip off back onto the parchment.
5. Before the chocolate hardens, press a couple of mini M&M’s onto the top Oreo to make the eyes.
6. Then, add another mini M&M right below for the nose area and line a few along the lower cookie for buttons.
7. Use the red decorating gel (about 2 teaspoons divided among the pops) to draw on a red nose on each snowman head.
8. If you want, sprinkle some extra mini M&M’s, crushed Oreos, or even festive sprinkles onto the still-wet chocolate for a snowy finish.
9. Let the decorated pops set at room temp or pop them in the fridge for about 10 minutes to firm up the chocolate.
10. Once hardened, enjoy your cute Oreo Snowman Cookies for a fun holiday treat or a rainy day snack!
Equipment Needed
1. Microwave
2. Microwave-safe bowl
3. Baking tray
4. Parchment paper
5. Stirring spoon or spatula
6. Decorator bottle or fine-tip applicator for the red gel
FAQ
Oreo Snowman Cookies Recipe Substitutions and Variations
- If you can’t find Oreos, you could try using chocolate sandwich cookies like Hydrox cookies which work really similary.
- If you dont have lollipop sticks, wooden skewers or even small pretzel rods work just fine.
- Instead of white chocolate candy melts, you can use white chocolate chips and melt them in a microwave, even though they might need a bit more stirring.
- In place of mini M&M’s for the eyes and buttons, you could use mini chocolate chips or even colorful sprinkles if that’s what you got.
- If you don’t have red decorating gel, mixing a small amount of red food coloring into thick icing or even a tiny bit of raspberry jam can be a good substitute.
Pro Tips
1. When you’re melting the white chocolate, be sure to stir it really well between each burst in the microwave so it heats evenly and doesn’t burn, which can ruin the taste.
2. Try chilling your Oreo pops in the fridge for about 5 minutes after sticking the cookies together before dipping them. It helps the chocolate coat better and prevents the cookies from breaking apart when you dip them.
3. If you notice that the decorations like the M&M’s or red gel are not sticking well, dip the top a bit longer or wait a few extra seconds so the chocolate gets just thick enough to hold them on securely.
4. Work in a clean, dry area where there’s no extra moisture. Even slight humidity can make the melted chocolate seize up a bit, so having a dry workspace makes your decorations look way better.
Oreo Snowman Cookies Recipe
My favorite Oreo Snowman Cookies Recipe
Equipment Needed:
1. Microwave
2. Microwave-safe bowl
3. Baking tray
4. Parchment paper
5. Stirring spoon or spatula
6. Decorator bottle or fine-tip applicator for the red gel
Ingredients:
- 24 Oreo cookies
- 12 lollipop sticks
- 12 oz white chocolate candy melts
- 1/2 cup mini M&M’s for eyes and buttons
- 2 teaspoons red decorating gel for noses
- Optional: Sprinkles or crushed Oreos for a snowy finish
Instructions:
1. Grab 12 lollipop sticks and stick two Oreo cookies together on each one by inserting the stick halfway into one cookie and then pressing a second cookie onto the exposed end to form a snowman body.
2. Place the assembled Oreo pops on a tray lined with parchment paper.
3. Melt the 12 oz white chocolate candy melts in a microwave-safe bowl in 30-second bursts, stirring in between until it’s smooth.
4. Dip each pop about two-thirds the length into the melted white chocolate, letting the excess drip off back onto the parchment.
5. Before the chocolate hardens, press a couple of mini M&M’s onto the top Oreo to make the eyes.
6. Then, add another mini M&M right below for the nose area and line a few along the lower cookie for buttons.
7. Use the red decorating gel (about 2 teaspoons divided among the pops) to draw on a red nose on each snowman head.
8. If you want, sprinkle some extra mini M&M’s, crushed Oreos, or even festive sprinkles onto the still-wet chocolate for a snowy finish.
9. Let the decorated pops set at room temp or pop them in the fridge for about 10 minutes to firm up the chocolate.
10. Once hardened, enjoy your cute Oreo Snowman Cookies for a fun holiday treat or a rainy day snack!


